

It's a metal shield found in a river, probably made as an offer to the Watergods.
Can you imagine making a metal shield, in those days, working hard at decorating it and then throwing it into a river?!?!
I was inspired by the decoration so I made a design based on it.

I made the design on tracing paper.

I threw a tile form red-brown clay and slipped it with a black clay
(well, very dark brown after its fired). :-)

I let it firm up and the traced the design softly on the clay.


Then I made a slip, white clay and an ocher bodystain, and painted the design on the tile.


Let the slip dry a little and then carve. It doesn't show very well in the picture. I hope that after firing the tile is black with the yellow design on it with a red-brown outline.
This is not the finished piece, I just now found out I took a picture halfway but not when it was finished.... you'll have to wait for that one.....
This is not the finished piece, I just now found out I took a picture halfway but not when it was finished.... you'll have to wait for that one.....

These are the tools I use for carving. (don't know how that pencil got in there..... :-)

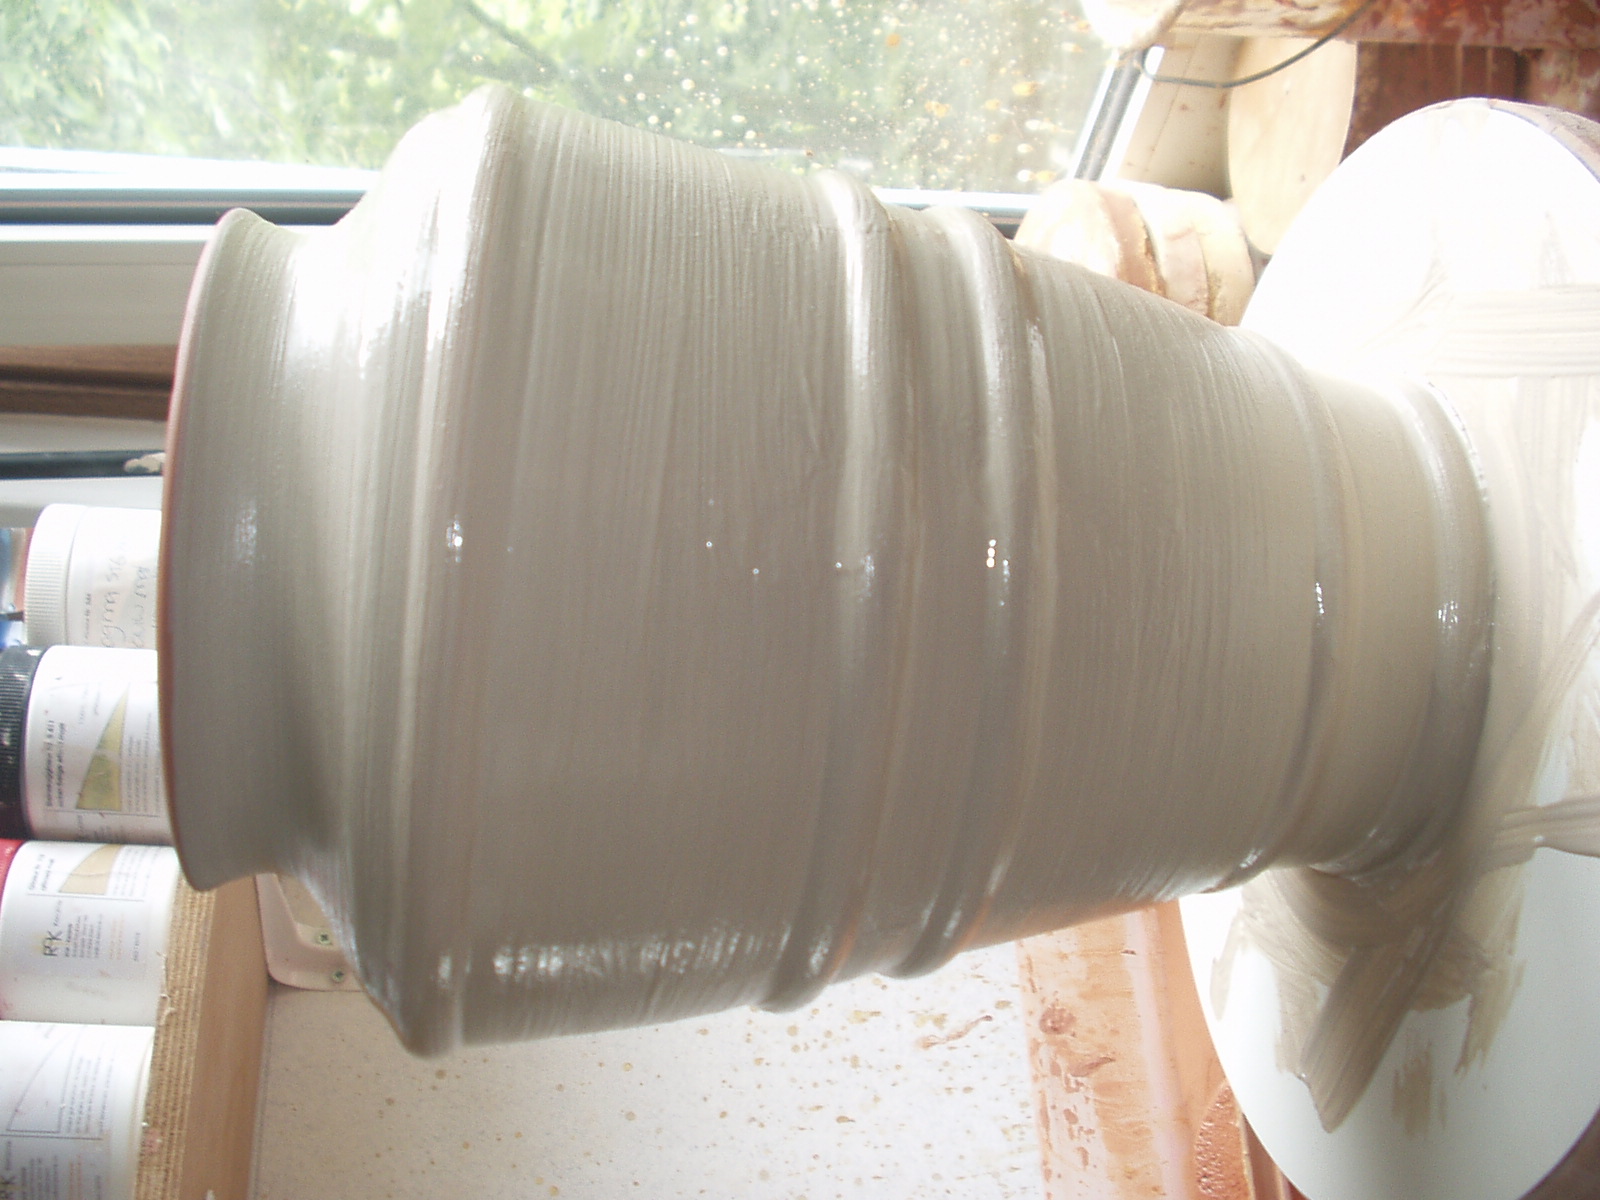
Another project was a little bigger vase that I wanted to carve with celtic borders.
Here are the before and after of that one (sorry for the picture on it's side..)

If you have any suggestions on carving, slips please do comment!
I wish you al a very good week and hope to be back soon with some wood firing news........
just a little teaser to get your attention. :-)
Be good, be happy and go make some pots! Or do anything that makes your heart sing ok?
Blessed be,
Monique
8 comments:
Your process is wonderful, thanks for posting, can't wait to see how it turns out. Perhaps the shield just ended up in the river due to a flood, can't imagine someone threw it in there either. How to you keep the design from getting distorted on the round pot. must be hard to hold up the tracing paper?
Thanks Linda!
In the book I've been reading it is stated that such offers were often made in those days. The Gods must have been very pleased! :-)
To keep the design from distorting I cut it into the smallest 'whole part' of the border design.
I divide the vase in equal parts and then 'repeat-trace' the parts on the vase. After that I connect the parts.
In this case there are 4 parts of the border on the body of the vase.
On the top there are several loops, I made a design with only 2 loops and repeated that 8 times, then made a connection.
Aren't I clever?? hahahahahahaha :-D
How fun, to see your process in pictures. The pencil is sort of a carving tool as that's the first step :) Love that fascinating pot in bottom pic. I am always so amazed at the beauty people create with their hands and minds.
and hearts.
What a cool shield -- it would be neat to know it's story.
I love reading about your process. I also use tracing paper to lay out my design. I use push pins to hold it in place (very easy to rub the hole closed).
But I just read about a process Rimas Visgirda uses. (you should 'google' him if you don't know his work).
He paints the slip on & allows it to dry so he can draw with a pencil without distorting the clay. He then uses underglaze to paint what he's drawn. Then he puts wax (thinned & transparent) on the piece & allows it to dry for 24 hours. Finally he sgraffitos/scratches the outline of his design & then adds a black underglaze wash to fill where he's scratched & then fires.
Cool, huh?
Lovely :)
Hi Theresa, Judy, Dough!
Thanks for reading and commenting.
Still working on the scraffito but other opportunities have come up.
Post about it soon, I have some questions... :-)
i looked him up judy, looks cool! I guess he scrafittos when bonedry??
Real fine ceramics. Autumn greetings from Finland. Markku M
Post a Comment